Framing your Embroidery
If I’m framing embroidery, I generally just frame it in the hoop because I love hoops.
I have also bought these DELIGHTFUL frames on Etsy that you can just pop your hoop into.
That said, sometimes you make a piece that isn’t meant for a hoop and you want to frame it in a tradition frame. Here’s the fastest process I have for that.
Spoiler Alert: it’s not that fast and it definitely takes some trial and error
Materials
· Your embroidery (with ample extra fabric left around the art)
· A frame that will fit your embroidery
· Matboard cut to fit the inside of the frame with 1/8” to spare to accommodate the fabric wrapping the board
· Straight pins
· Tapestry or embroidery needle
· Strong sewing thread
I HIGHLY recommend blocking your embroidery first. Here’s a tutorial on how to do that.
This first step is the most important step in my opinion and you should invest the effort here into making sure it’s perfect before moving on.
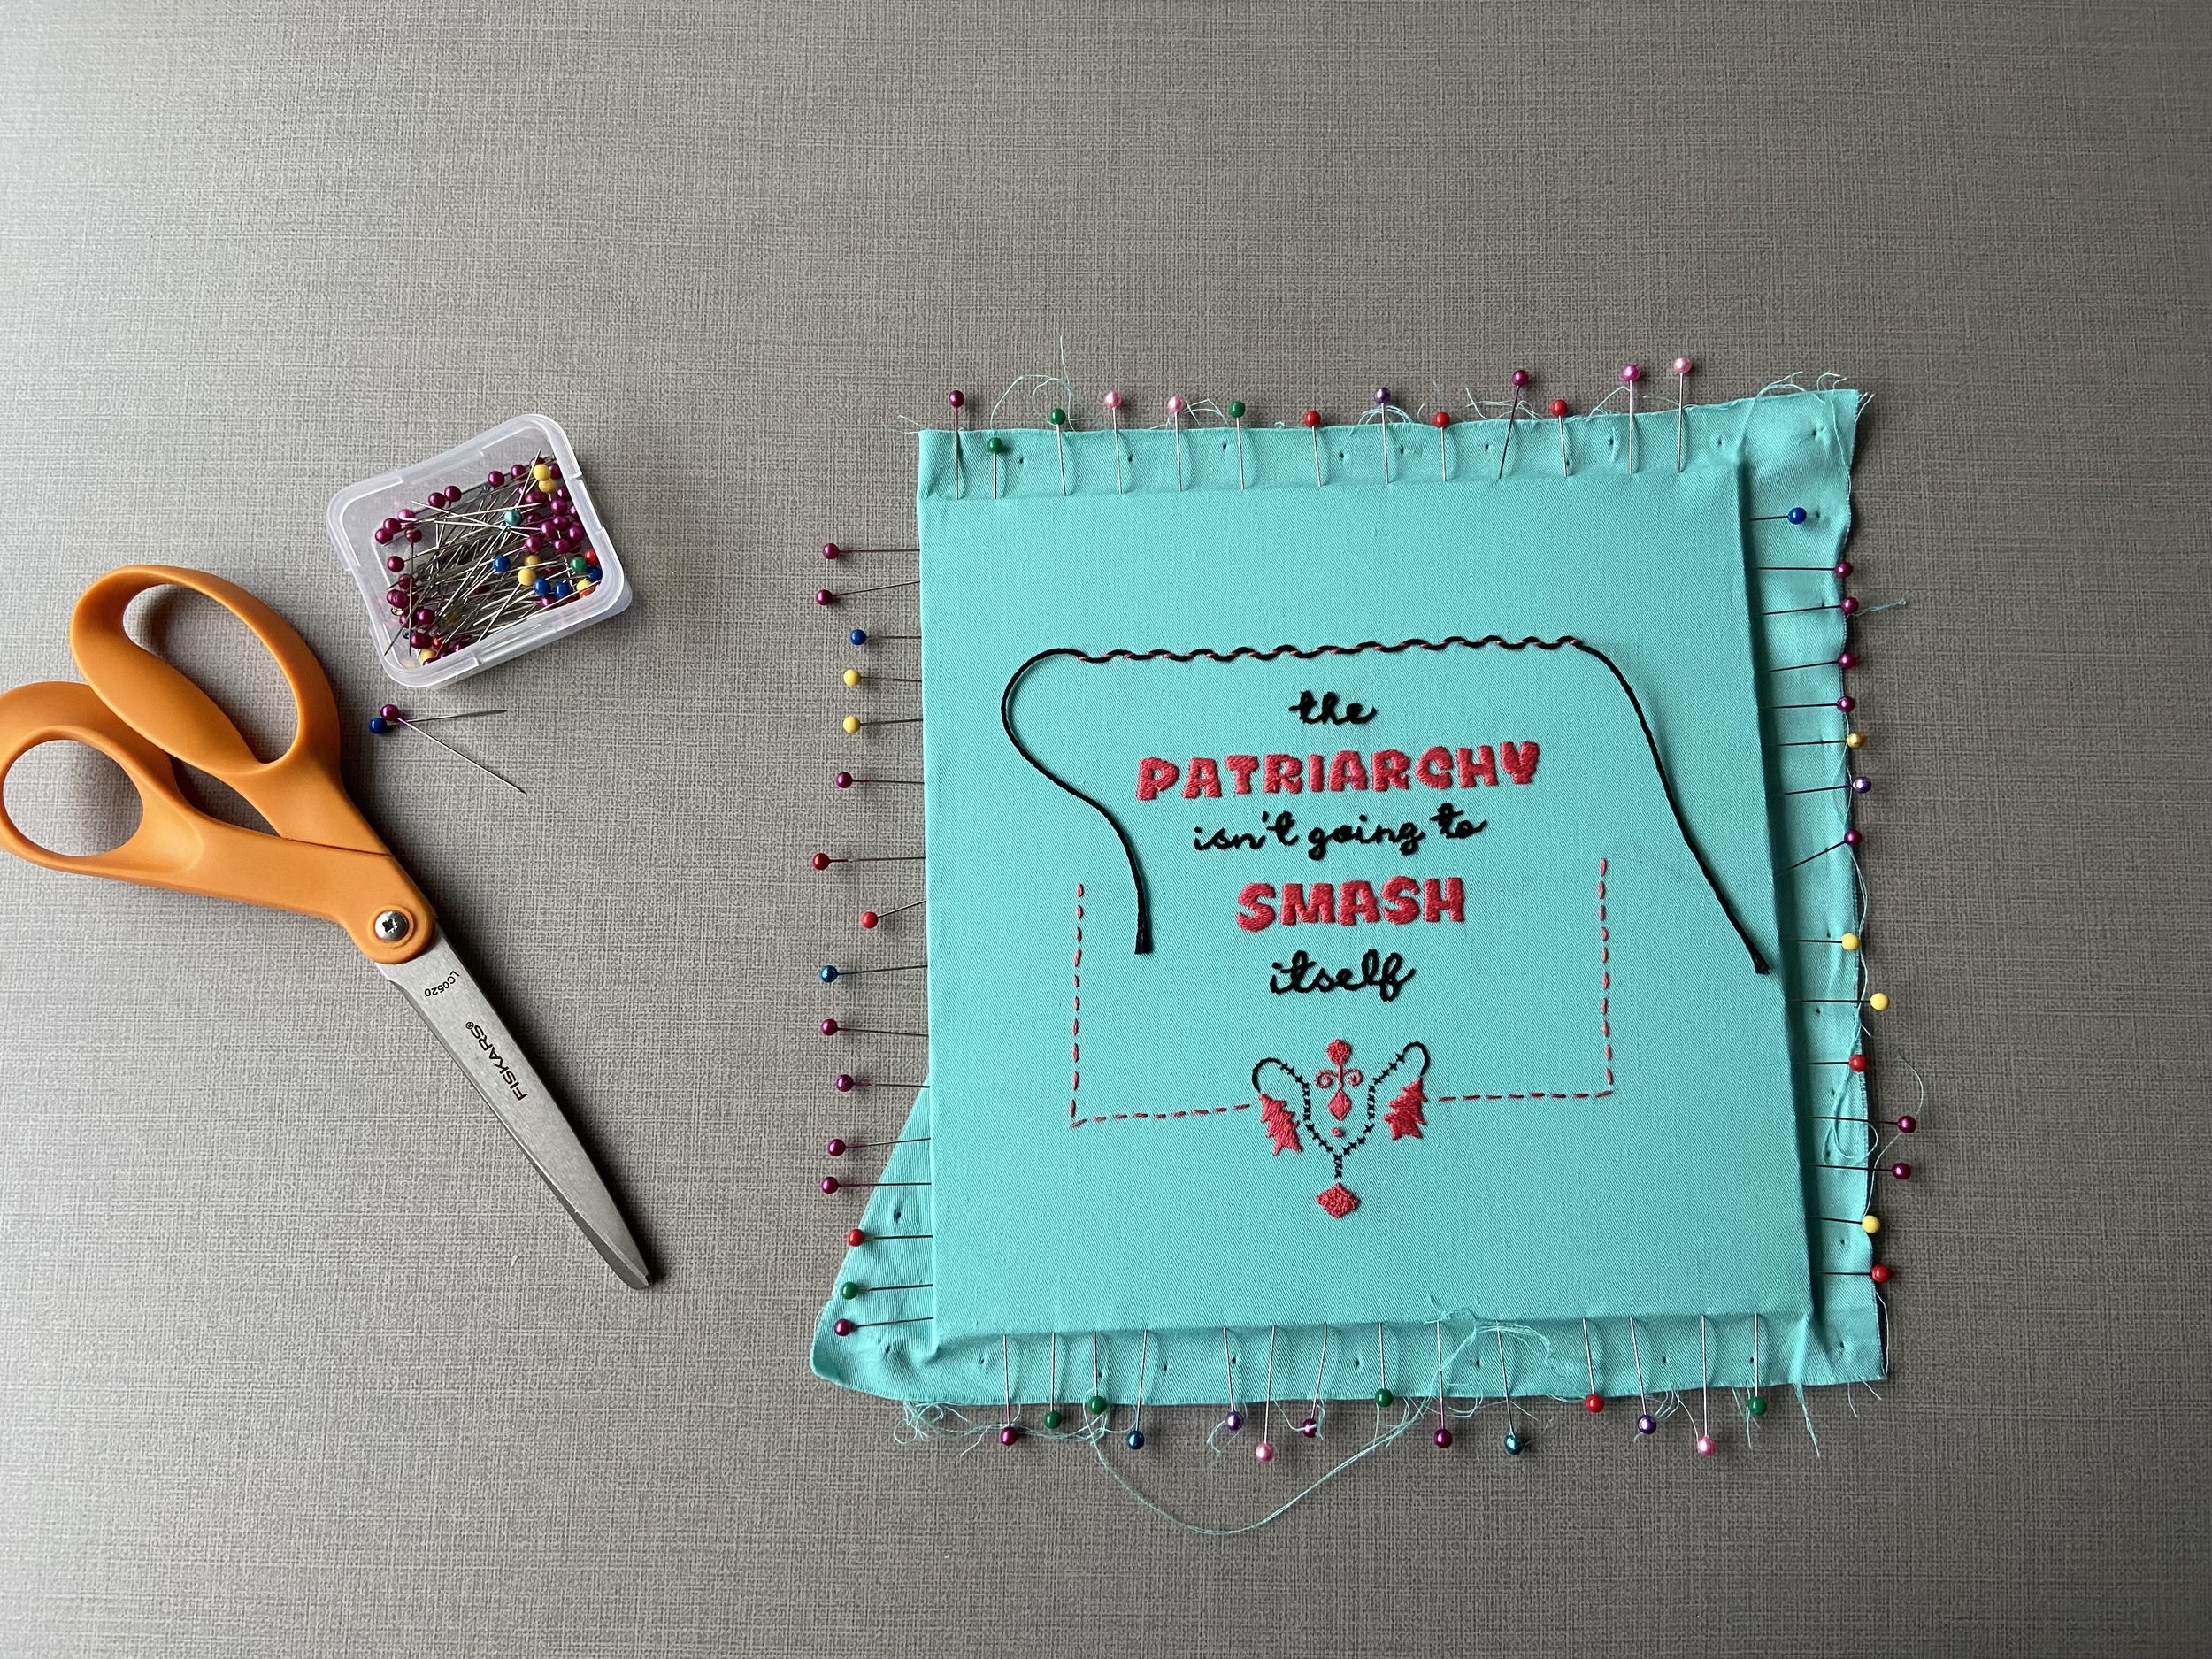
Place the matboard under your embroidery and position it so that the embroidery is exactly where you want it to ensure it is displayed in the frame according to your vision.
Now flip it over very carefully and on a clean surface.
Fold the extra fabric from the top and the bottom toward the center.
Trim if necessary.
You want space between the fabric - no overlaps.
I wasn’t planning on framing this piece so there’s not a ton of extra fabric to work with here. I generally leave way more. Do yourself the favor and plan ahead. LOL. Leave yourself more to work with if you can.
Pull the fabric tight and start inserting the push pins through the fabric and into the matboard along the top and the bottom.
I flip the piece over at least 10,000 times while I’m pinning it to ensure the placement is correct and nothing moved.
Repeat this method on the sides.
You may need to fold and trim the fabric depending on the shape and size of your frame.
You want it to fit snug in the frame but too much excess fabric on the back will prevent you from being able to put the frame backing on.
Now, you are going to sew the top and bottom together with the sewing thread using what I call the ‘corset method'.
I’m sure there’s a legit name for it but, I like mine.
It is a frustrating process because, if you are like me, you will catch the thread on the stupid pin heads EVERY SINGLE TIME.
I try to work the up and down lacing in sync with the pins so that I’m certain the piece will look the same when I remove the pins.
You will then sew the sides together - atop the top and bottom threads - using the corset method.
You want to pull tightly as you stitch.
Removed the push pins, flip it over, and marvel!
Place the piece into the frame.
Display that super sexy embroidery for all the world to see!!!!!


