Blocking your Embroidery for Framing
Blocking is a great way to prepare a piece of embroidery for framing or quilting. If you do a lot of heavy embroidery, you may find that when you take your piece out of tension (out of the hoop) and rinse it, the fabric around your embroidery puckers. Blocking will take care of that. It will take out wrinkles, hoop marks, and ensure your art is looking dead sexy before you mount and frame it.
Materials I use:
· Cork board
· Push pins
· Spray bottle full of water
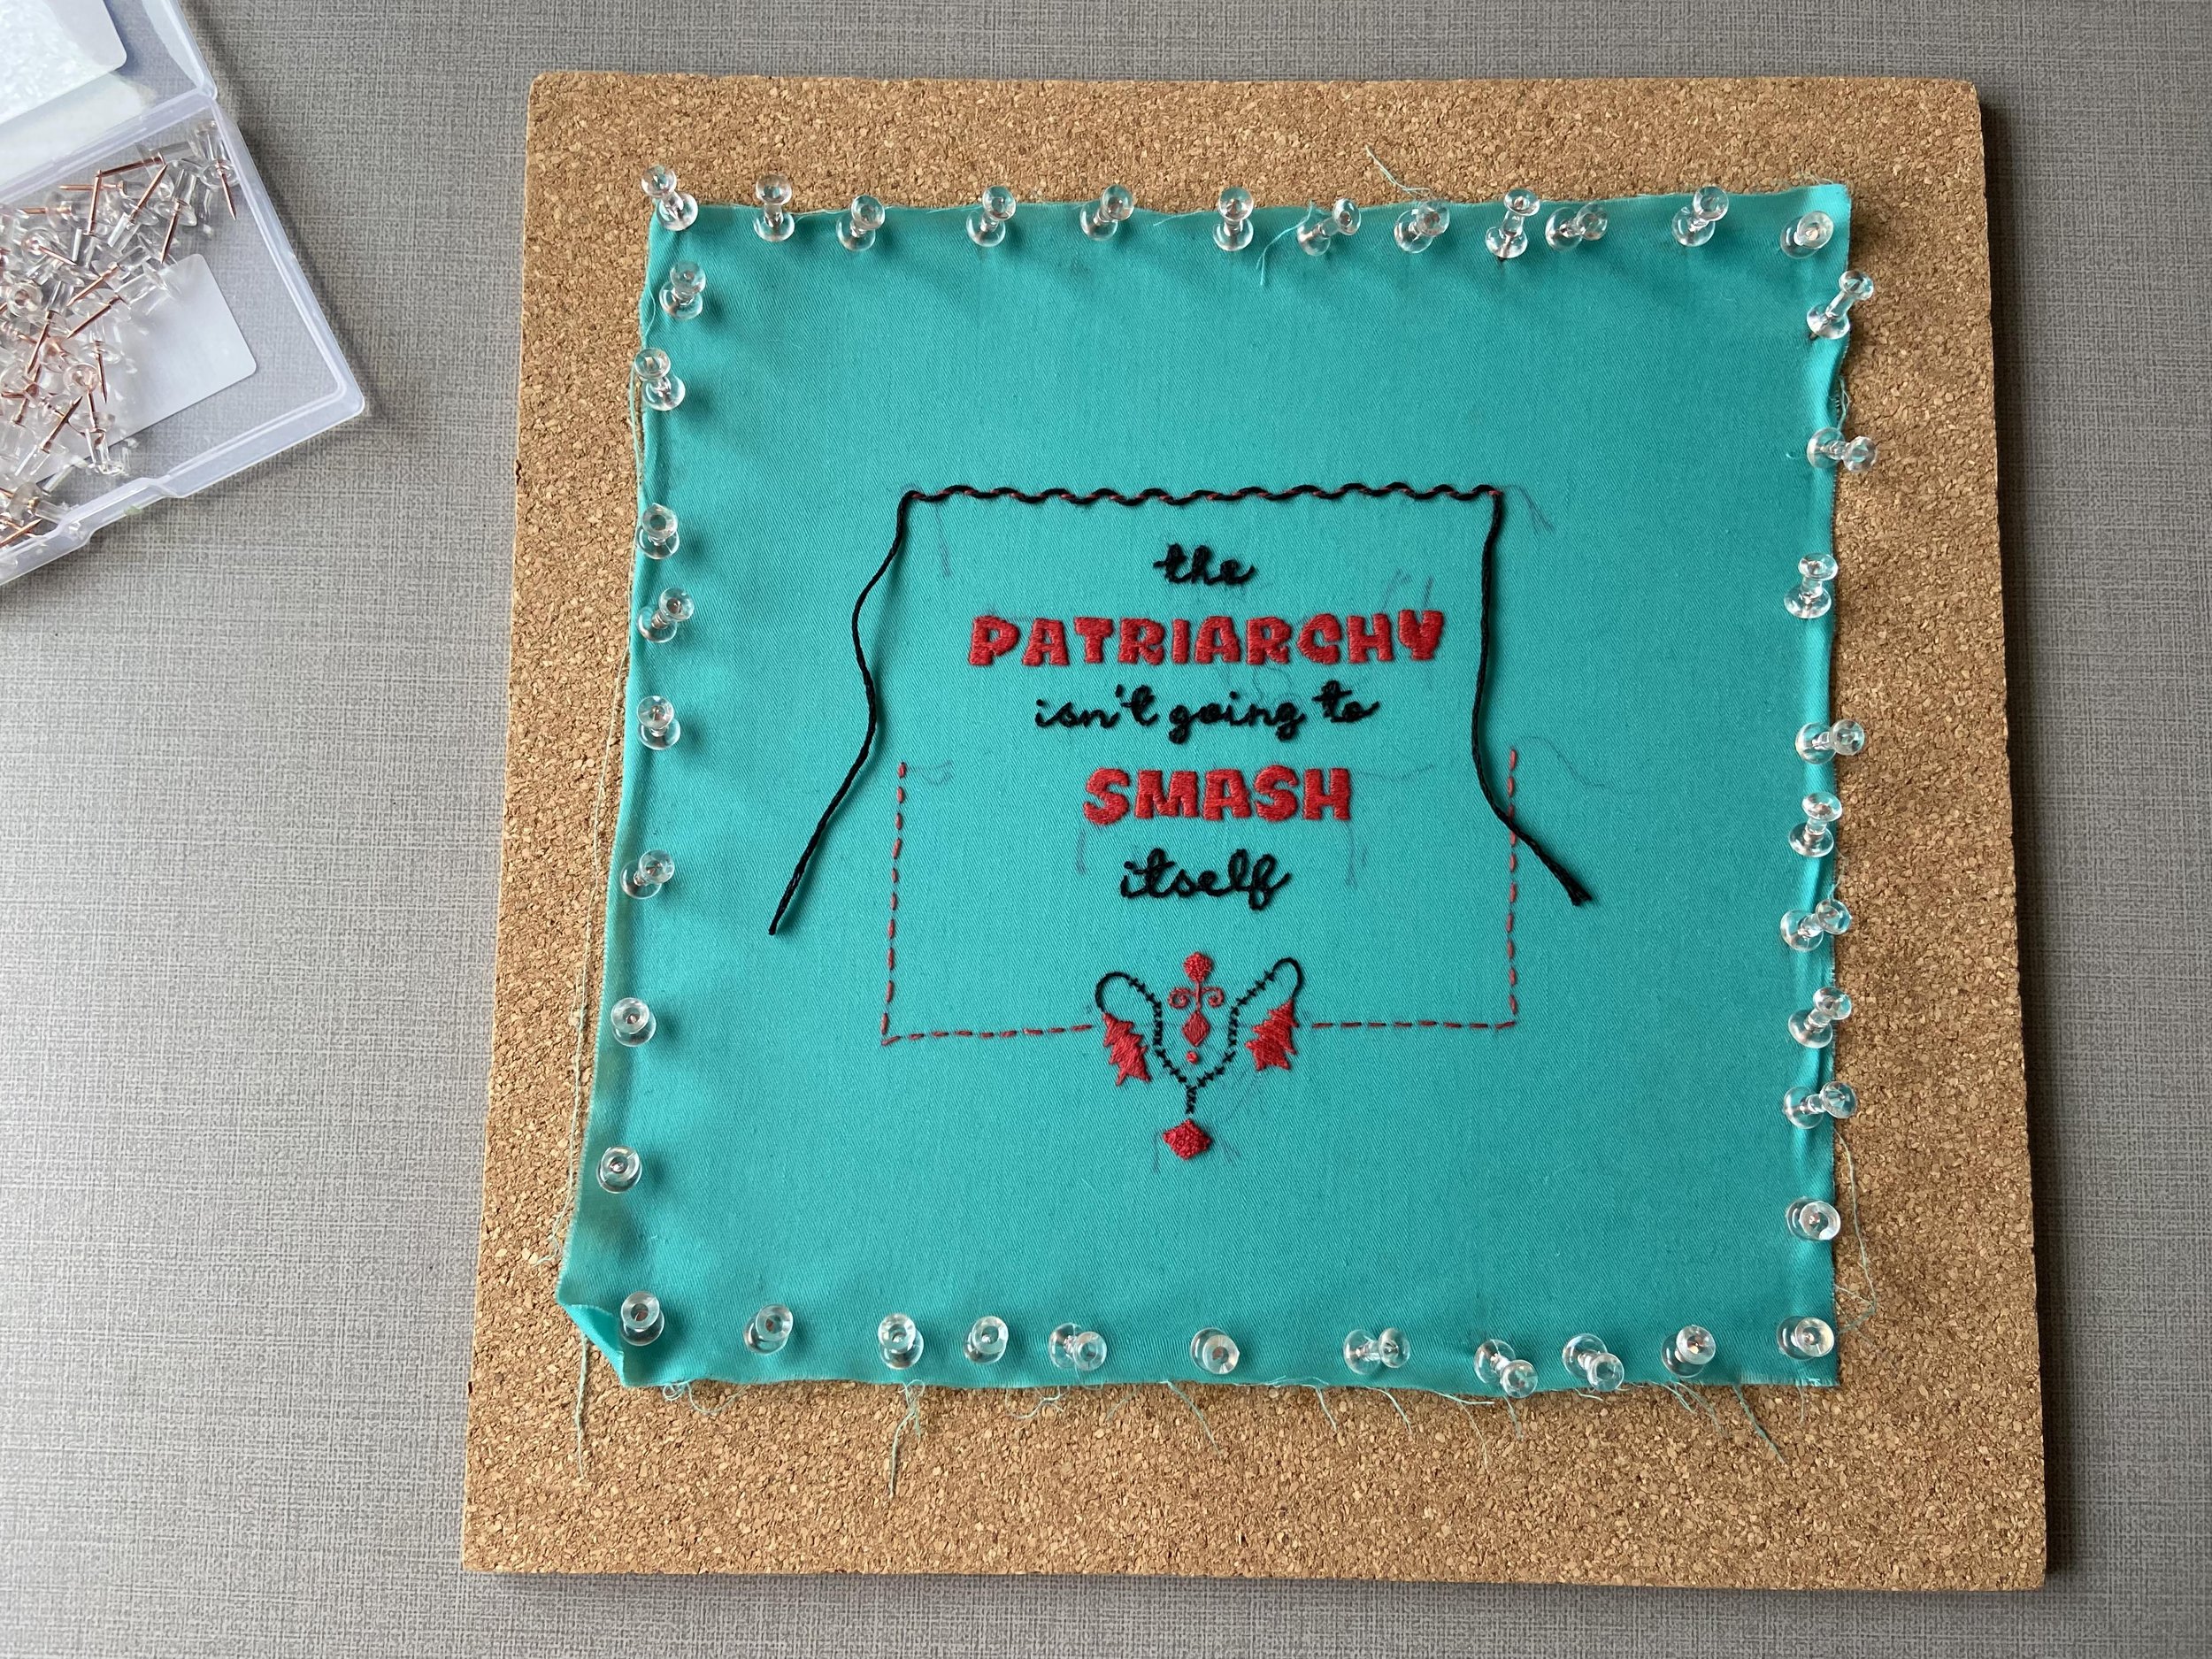
Here’s the second #YearOfStitch sampler that I just finished.
As you can see, there are pretty massive hoop marks and since I used quite a bit of satin stitch it will likely pucker after I rinse it.
I’ll use it to demonstrate how I block embroidery.
Wash or rinse your embroidery.
I usually just soak it for a bit in warm water. If you have stains or fabric trauma you will want to address those before you block the piece.
I am no fabric expert so if you have questions about removing stains or how to wash your fabric I recommend @Laundrypatric
Remove the excess water.
I place the embroidery on an absorbent towel and hand press the excess water out.
Grab your cork board, push pins, and embroidery.
Start by stretching and pinning the top two corners.
Then stretch and pin the bottom two corners.
Next, I stretch and tack down the left side, then the top and bottom, then the right side.
I then go back in and continue to stretch and pin until the entire piece is evenly stretched.
Sometimes the piece has started to dry by this point so I give it a little spritz with my spray bottle if it needs it.
Leave the piece stretched until it is completely dry.
I may or may not speed that process up with a blowdryer if I’m feeling impatient. ;)
Remove the push pins and TAH-DAH!
You have a dead sexy embroidery that is ready to frame.


